Preparing “Ready to Print” Files
Quality printing starts with a quality product – your artwork or photographic image. However, if we don’t have a high quality digital file to print from, your prints may be compromised.
You have several options when providing your image files, below are 3. We are glad to work with you to make sure your print is of the best quality.
- You can send us a file and ask us to use our best judgment in making adjustments to provide you with the best quality print from your file. You may not be familiar with the technical details of your file – ie. resolution, image size or light quality. Speak with customer service about charges for file adjustments.
- You can send us a file and ask for specific adjustments to be made. This service is useful if you know that something in particular needs to be corrected or when you know that extra work likely is necessary to achieve the print you want. Speak with customer service about charges for file adjustments.
- You can send us a file that is “ready to print.” You have carefully prepared your file for printing according to the specifications for the material you are wanting to print on and do not want us to make any adjustments to your file.
An important note: When sending us a file for first time printing, we highly recommend that you order a proof print prior to printing the finals. Proofing is $15.00 for 15 minutes of time with our professional printer to make sure your file prints beautifully every time!

Your content goes here. Edit or remove this text inline or in the module Content settings. You can also style every aspect of this content in the module Design settings and even apply custom CSS to this text in the module Advanced settings.
- Image needs to be in RGB color mode and in the Adobe RGB 1998 work space.
- Set your “Document” width and height to your desired output size, at 300DPI for paper prints, 140DPI for canvas prints and for Dye Sub products at 200DPI.
- For canvas gallery wrapping allow 6 inches of extra image to wrap around the sides, 3 inches per side.
- File should be flattened and not contain layers or alpha channels.
- File is saved as a JPG, PSD or TIFF
- Do not apply any printer profiles. We’ll take care of that.
*If your image is not consistent with the steps above, it is considered not ready to print and you may incur additional set-up charges.
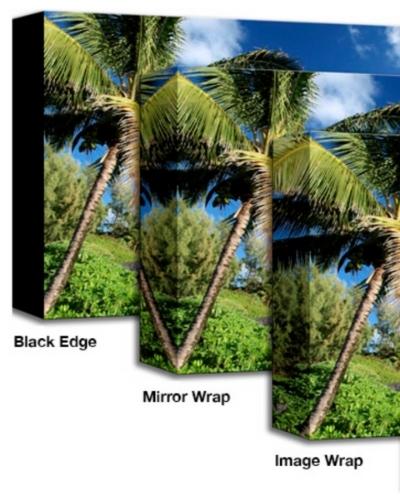
When printing on canvas there is an additional 2.5″-3″ of image needed to wrap around the stretcher bar.
There are 3 ways to accomplish this:
- Image Overflow
- Mirror Image
- Solid Color
To the right is an example of 3 you can wrap a canvas print.

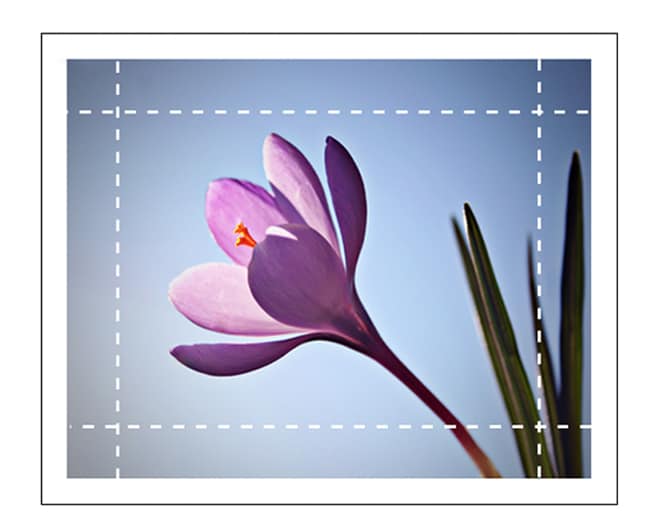
Below is a step by step showing you how a mirror wrap for your canvas print will look, starting on the left and moving right. Mirror wrap is the most popular way to print your canvas. Starting from the first image being just the image that is needing to be prepped for print. The image to the right shows you the area that will be duplicated and flipped for the mirror border on the right side of the canvas. You would then repeat that on all sides. The last image shows you what the final print will look like with a mirror wrap. Preparing your canvas this way ensures that you will keep all your image on the face of the canvas.


